Trucks
1.1 Purpose
The main purpose of this module is to enable the administrator to manage the Trucks that used by the company for the purpose of logistics. Admin will be able to Add, Edit, and Activate/Deactivate Trucks from this module.
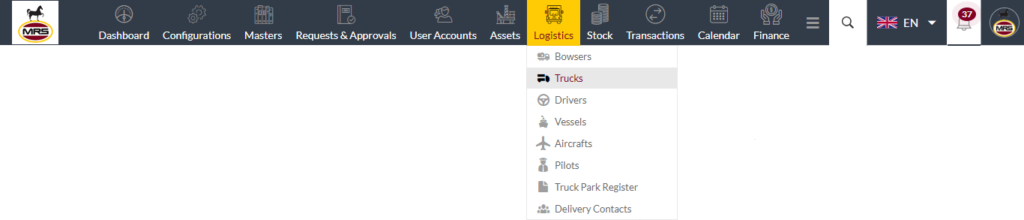
1.2 Navigation Path
Path: Logistics > Trucks
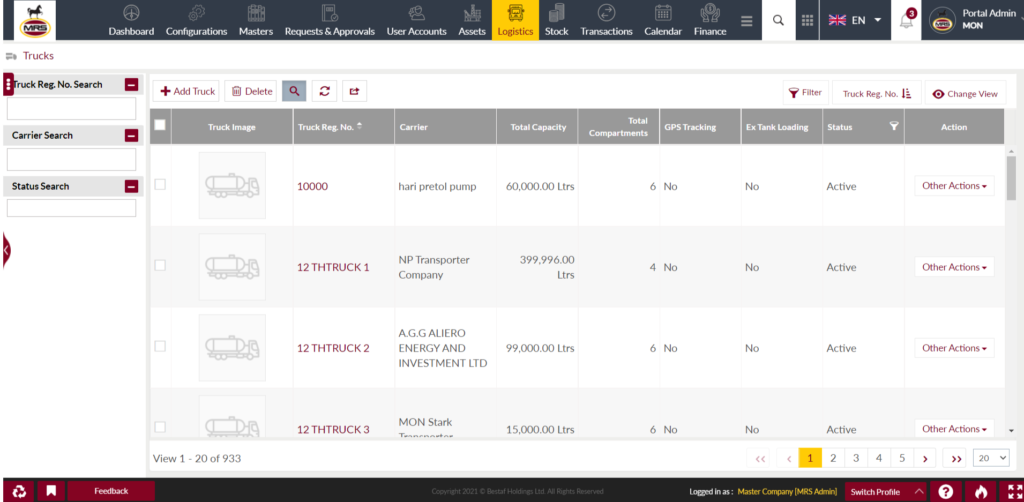
1.3 Listing Screen
View list of all the Trucks that were previously added by the Administrator. Admin will have an option to add, update, and activate/deactivate the Trucks. Admin will be able to search the Trucks using the filter option this is provided in the list. Admin can view the listing in two views; admin will have option to change the view by clicking on “Change view” Button.

Table view
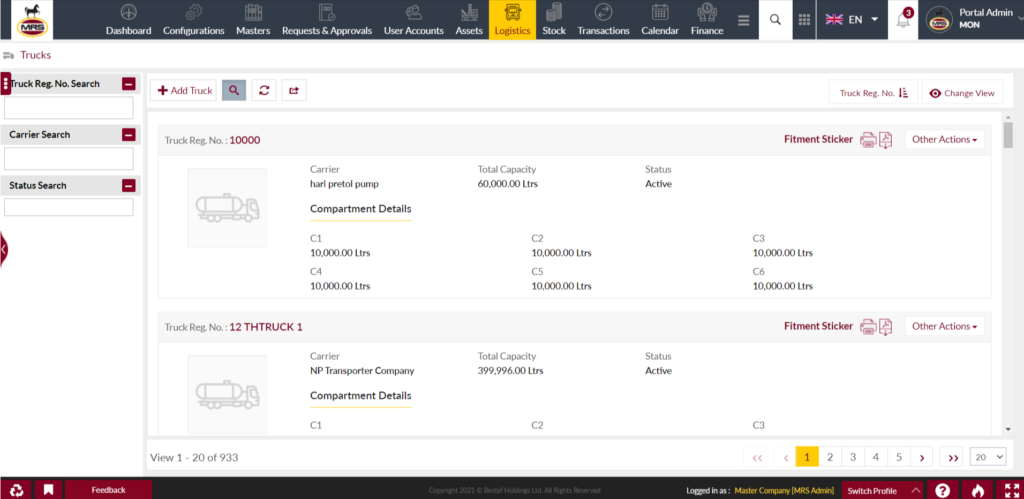
Grid view
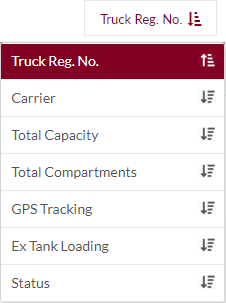
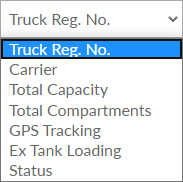
Sorting: Admin can sort the list by Truck Reg. No., Carrier, Total Capacity, Total Compartments, GPS Tracking, Ex tank loading, status
Search Filter: Admin can search from the list using the text inputs provided below.

Option to search, refresh and export

Conditional Search/Filter: User will be able to search using below pop-up
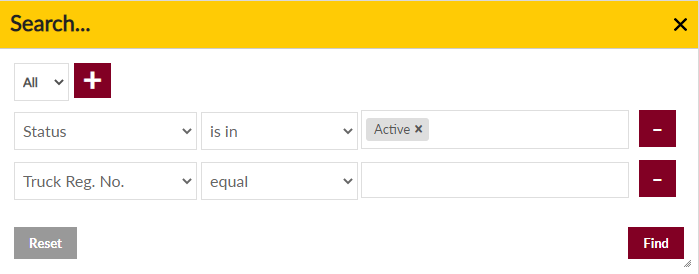
- User will be able to search conditionally i.e. the search must satisfy the conditions “Any” or “All” based on the selection

- Multiple Field conditions can be added by clicking on “+” Button
- Field conditions can be removed by clicking on “-” Button
- Admin will have the option to select which field the input data needs to be compared and searched upon
- Criteria needs to be set to compared with inputted data text input. List of Criteria are mentioned below:
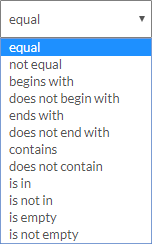
- Text area will be provided to enter the data for compare and search in the listing.
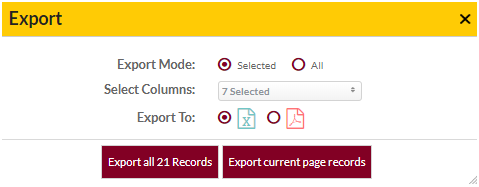
Export
- Admin will have the option to export the data in excel and PDF format
- Admin can either select the columns or all the columns based on the need
- Admin can either export the current page records or all the record
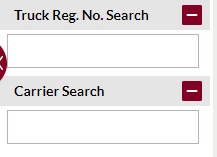
Text Search Filter: Admin will be able to search the truck using text by Truck reg. No. and Carrier.
Add New Truck: To add Trucks, click on the “Add Truck” button
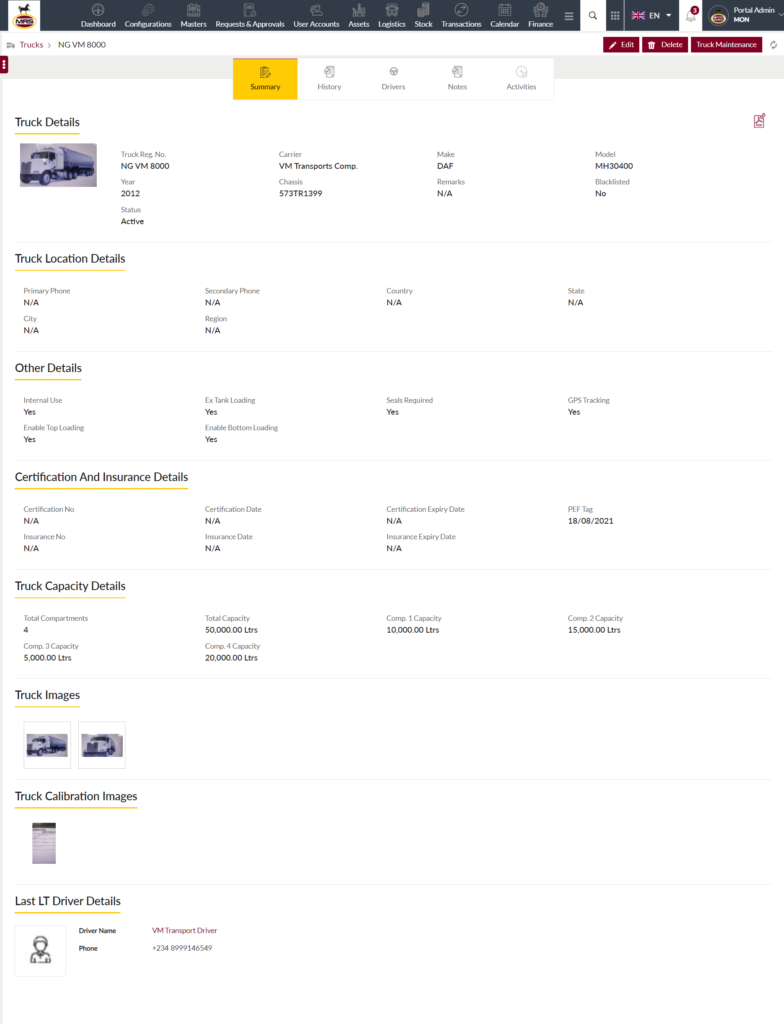
1.4 View Truck Details
- View Summary of the trucks
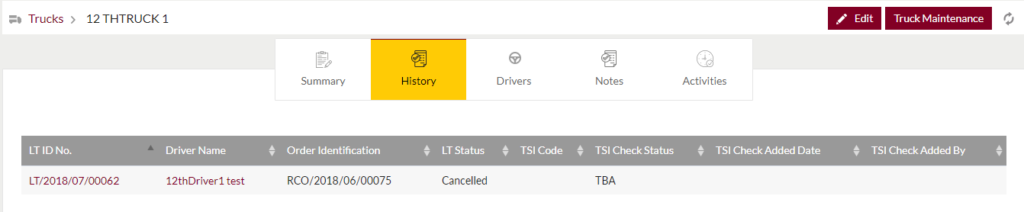
- View History: Admin can check out the history of the trucks
- View Drivers: Admin can view the list of drivers of the truck

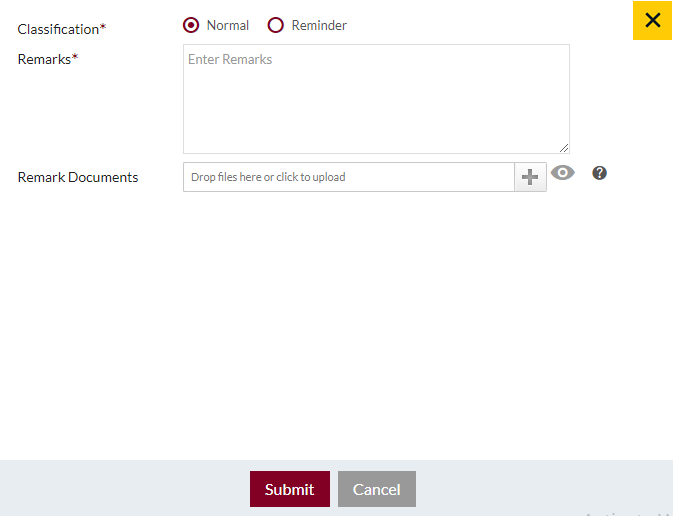
- View Notes (if available): Option to Add notes by clicking on Add notes or Reminders button
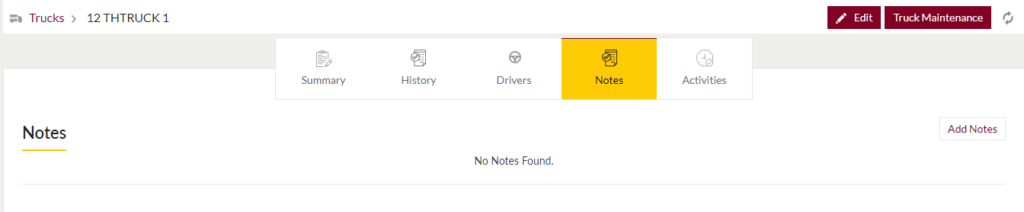
- Add Notes: Notes can be added by adding “Remark” and uploading remark Documents.
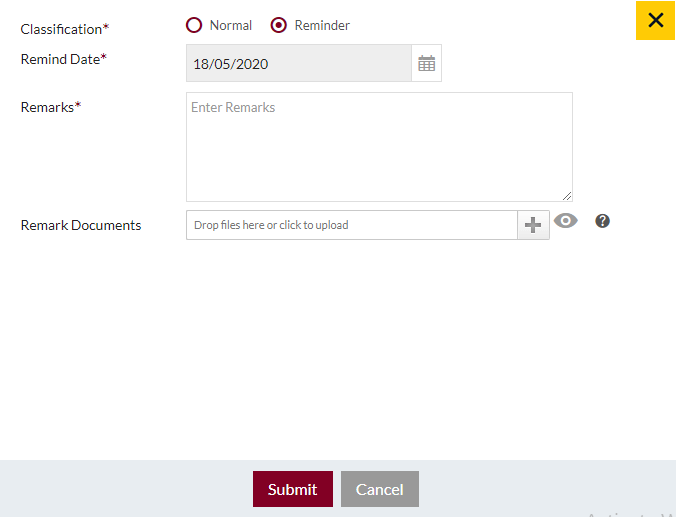
- Add Reminders: Reminder Notes can be added by adding “Remark”, Remind Date and uploading remark Documents
- View recent activities
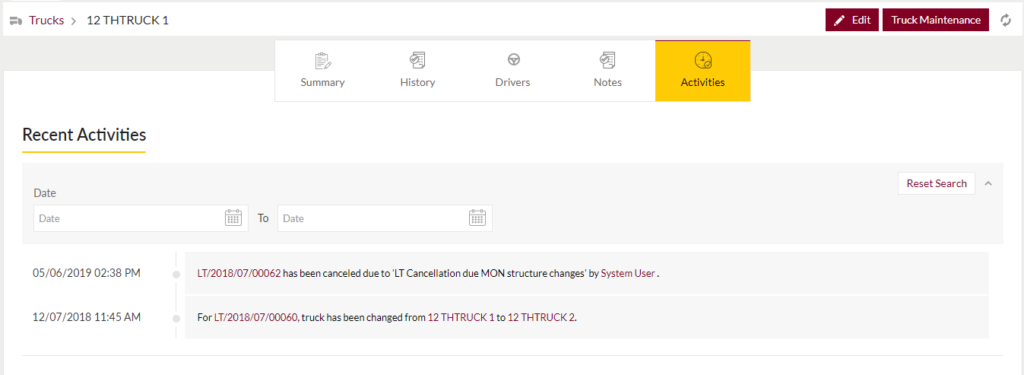
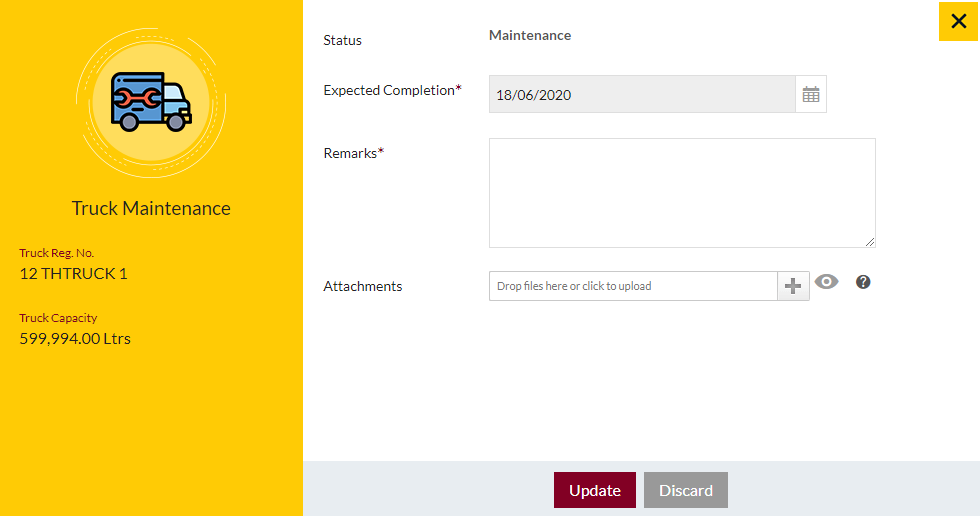
- Option to set the status of the truck to maintenance & edit the truck info.
1.5 Add New Trucks/Edit Existing Trucks Form
- User will be able to Add/Update the Trucks from this page
- User needs to fill the Truck information to add/edit the Trucks in the system.
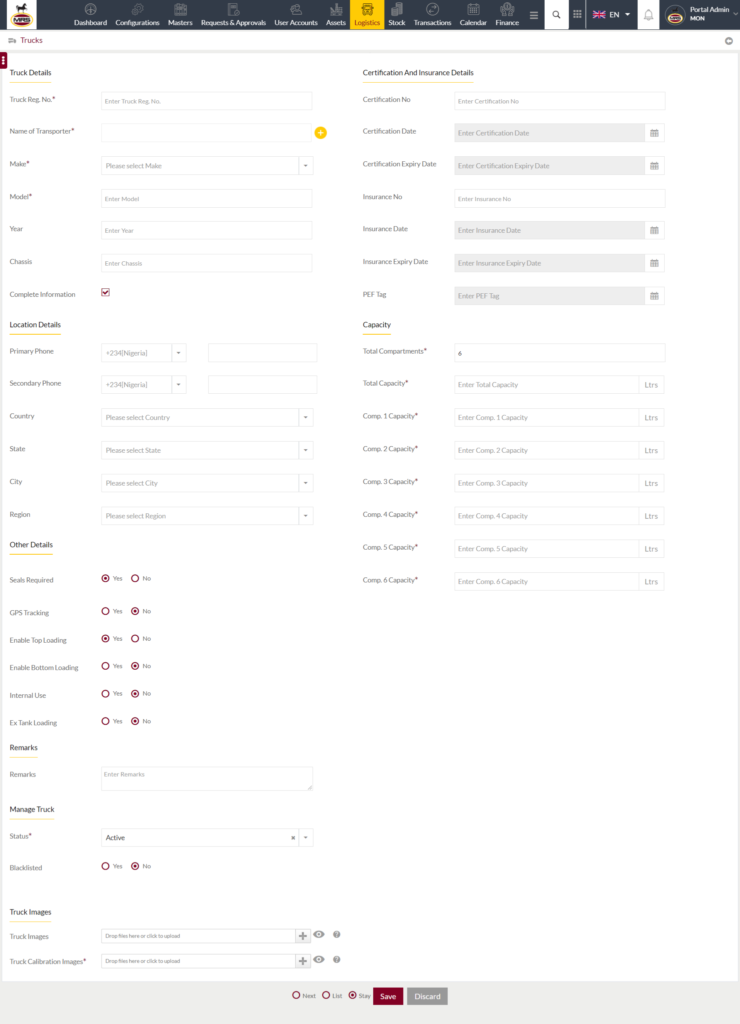
Add Form
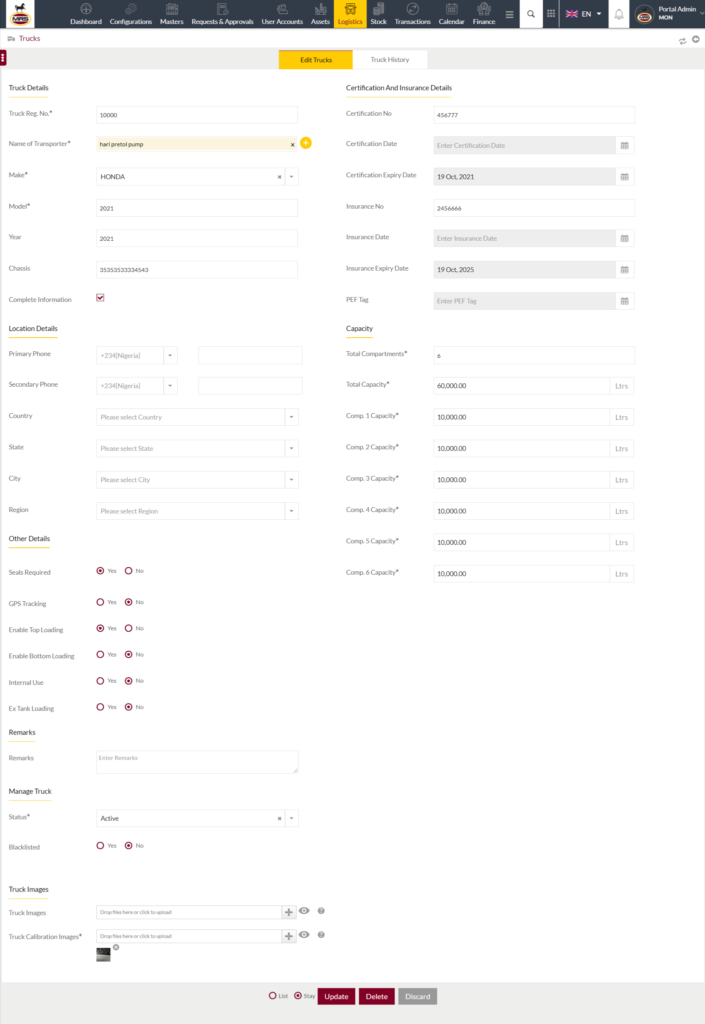
Edit Form
Fields available in the Add/Edit Truck Form
Truck Details
- Truck Reg. No. (Required): Enter Registration Number of the truck
- Name of Transporter (Required): Select the Name of the Transporter. Admin will be able to add a new transporter if not available in the list
- Make (Required): Select the make of the Truck from the dropdown
- Model (Required): Enter the model of the Truck from the dropdown
- Year: Enter the year of manufacturing
- Chassis: Enter the Chassis number of the truck
- Complete Information: Check in the checkbox if the information is complete
Location Details
- Primary Phone: Select the ISD code and enter the primary phone number in the text input
- Secondary Phone: Select the ISD code and enter the secondary phone number in the text input
- Country: Select the location country from the dropdown
- State: Select the location state from the dropdown
- City: Select location city from the dropdown
- Region: Select the location region from the dropdown
Certification And Insurance Details
- Certification No: Enter the Certificate number (if avaialable)
- Certification Date: Select the Certificate date
- Certification Expiry Date: Select the certificate expiry date
- Insurance No: Enter Insurance number (if available)
- Insurance Date: Select Insurance Date
- Insurance Expiry Date: Select the Insurance Expiry Date
- PEF Tag: Select PEF Tag date
Capacity
- Total Compartments (Required): Enter the total number of compartments are available
- Total Capacity (Required): Enter the total capacity in truck
Based on the number of compartment selected admin need to enter the capacity of each compartment
- Comp. 1 Capacity (Required): Enter the capacity of compartment 1
- Comp. 2 Capacity (Required): Enter the capacity of compartment 2
- Comp. 2 Capacity (Required): Enter the capacity of compartment 3
- Comp. 2 Capacity (Required): Enter the capacity of compartment 4
- Comp. 2 Capacity (Required): Enter the capacity of compartment 5
- Comp. 2 Capacity (Required): Enter the capacity of compartment 6
Other Details
- Seals Required: Select “Yes” or “No” if the truck require seals or not.
- GPS Tracking: Select “Yes” or “No” if the truck has GPS tracker or not.
- Enable Top Loading: Select “Yes” or “No” if the truck as top loading or not.
- Enable Bottom Loading: Select “Yes” or “No” if the truck has bottom loading or not
- Internal Use: Select “Yes” or “No” if the truck is for Internal use or not
- Ex Tank Loading: Select “Yes” or “No” if truck has Ex truck loading or not
Remarks
- Remarks: Enter the remarks for the truck if any
Manage Truck
- Status (Required): Make the truck Active or In-Active for user
- Blacklisted: Select “Yes” or “No” if the truck is black listed or not.
- Blacklisted Reason (Required): If the truck is black listed, enter the reason of making the truck black listed.
Truck Images
- Truck Images: Upload the images of the trucks (Multiple).
- Truck Calibration Images (Required): Upload the images of calibration of trucks
Before Submission, admin will have option to go to “Next” Page to add new Truck, go to “listing” or “Stay” on the same Truck page.
Admin can save the Truck by submitting the form or can discard the Truck.
On Submission, the Truck will be listed in the Truck listing page.